Goal:
To set up Google Search Console for the first time, and to connect it with the Yoast SEO WordPress plugin.
Ideal Outcome:
Your Google Search Console property has been verified, and you are able to check if there were any crawl issues for your site recently, straight in your WordPress Admin.
Prerequisites or requirements:
You need to have Google Tag Manager installed on your website and the Yoast SEO Plugin running on your WordPress website to follow this SOP.
Why this is important:
Google Search Console is a free tool that allows you to monitor your website’s performance in Google search. It allows you to collect statistics about your rankings, optimize visibility, and it’s your main channel of communication with Google, allowing you to monitor potential penalties, or identify crawling errors before they affect your rankings.
Where this is done:
In Google Search Console, and your WordPress admin.
When is this done:
Only once per domain. You will need to do it every time you create a subdomain, or add a new protocol (for example, If you migrate to https://)
Who does this:
The person responsible for Website management, analytics, or SEO.
Signing up for Google Search console and verifying your domain
Go to https://search.google.com/search-console/;
Log in with your Google Account;
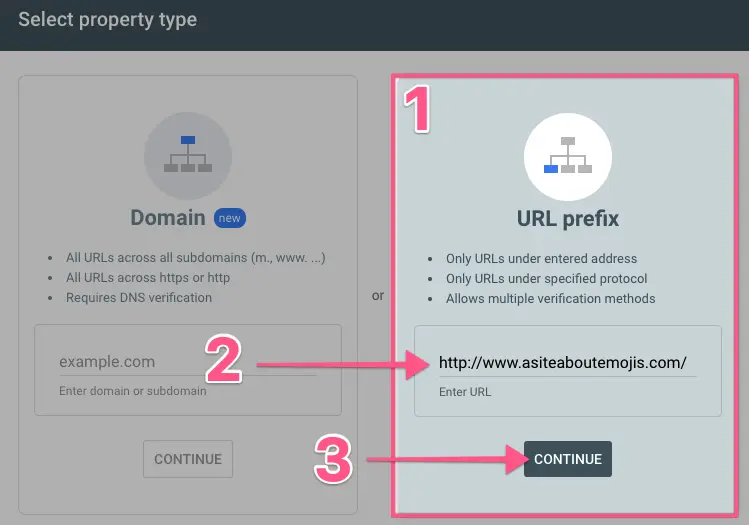
You will be taken to a welcome page and prompted to “Select a property type”. Select ‘URL prefix’.Note: Make sure your URL is exactly as it appears in the URL bar including the protocol (http:// or https://) and the subdomain (www. or non-www., or any other subdomain you might be using).
Note 2: If your website supports multiple protocols and subdomains you will want to add them all to Search Console, since the tool will treat each of them separately.
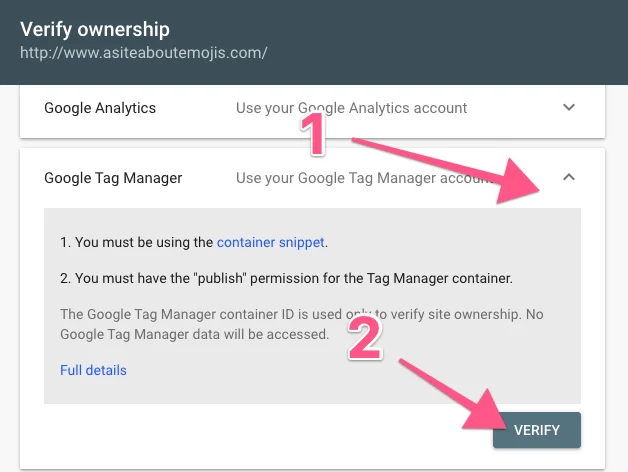
There are multiple ways to authenticate your account. If you are already using Google Analytics, or Google Tag Manager these 2 methods will be the fastest and easiest methods to authenticate. If not, the recommended method is the fastest one to use. This SOP assumes you already have Google Tag Manager running on your website.
Note: If you don’t have Google Tag Manager yet, you can follow SOP 004: Add Google Tag Manager to a WordPress Site first.
Select “Google Tag Manager”, click “Verify”
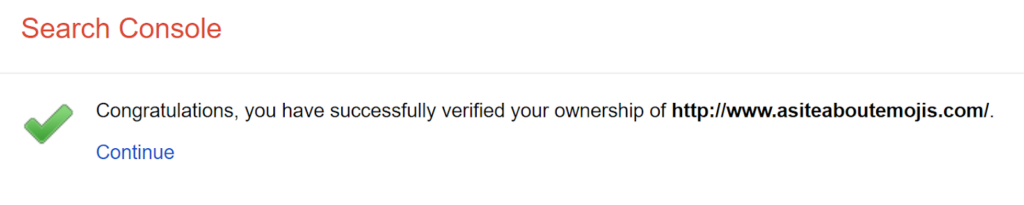
That’s it! You should now see a success message, click “Continue” and you will be taken to your Search Console dashboard.
Connect Search Console with Yoast SEO WordPress Plugin
Open your WordPress Admin Dashboard
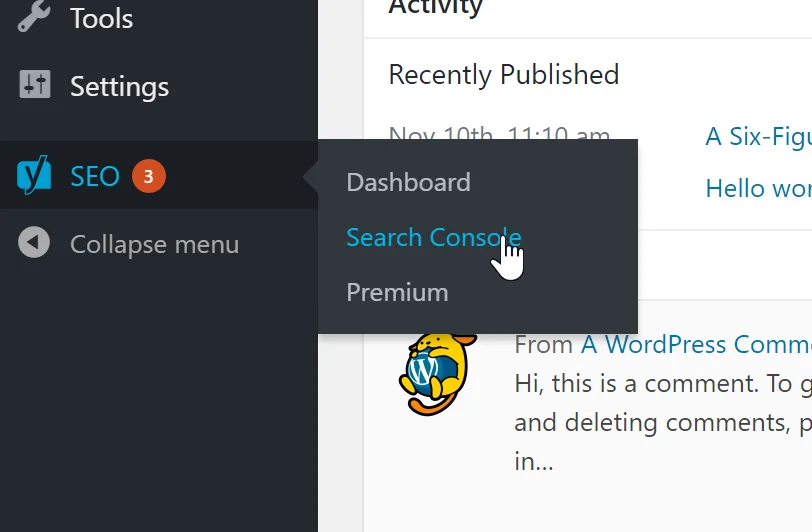
On the sidebar, hover “SEO”, and click “Search Console”
Click “Get Google Authorization Code”

Select your Google Account and log in

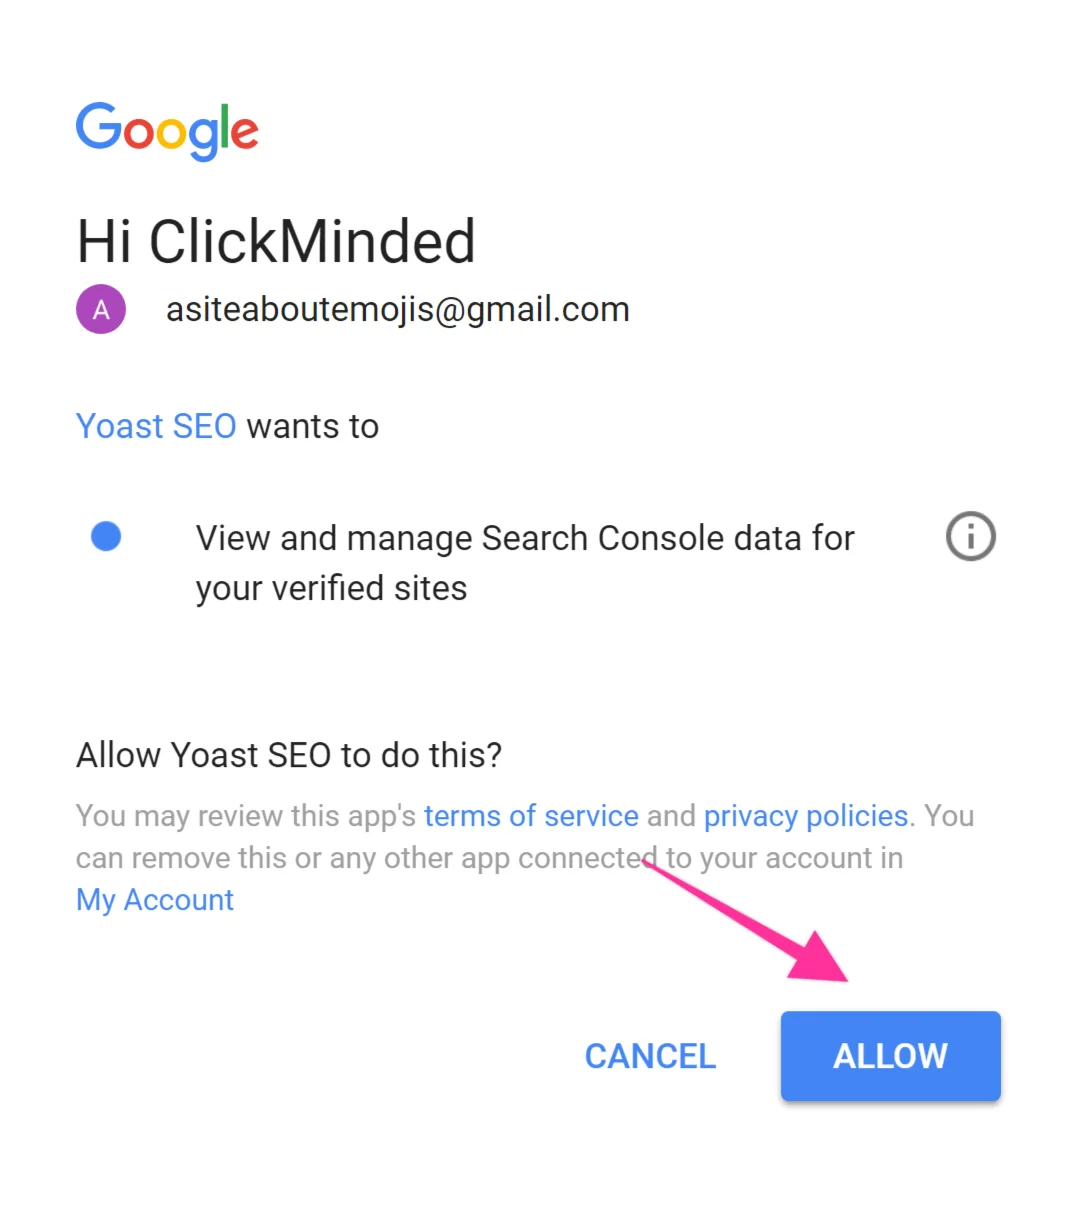
Click “Allow”
You will get a code that you will need to paste in your Yoast SEO Search Console configurations:

Open your Yoast SEO Search Console configuration panel again, and paste the code you have just received. Click “Authenticate”

Select your URL from the dropdown, and click “Save Profile”
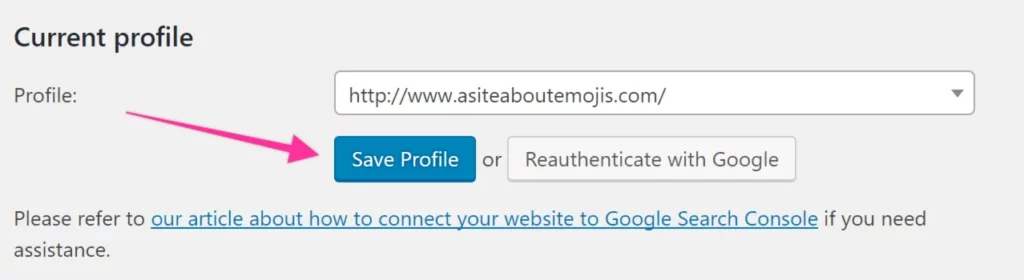
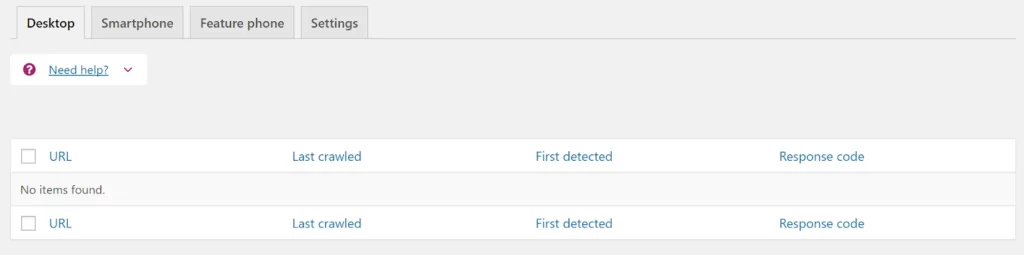
That’s it! You have successfully connected Yoast SEO and Google Search Console, you will now be able to retrieve all the crawl issues for your site straight from your WordPress Admin panel.